How to Meticulously Clean and Descale Your Keurig Coffee Maker
Share
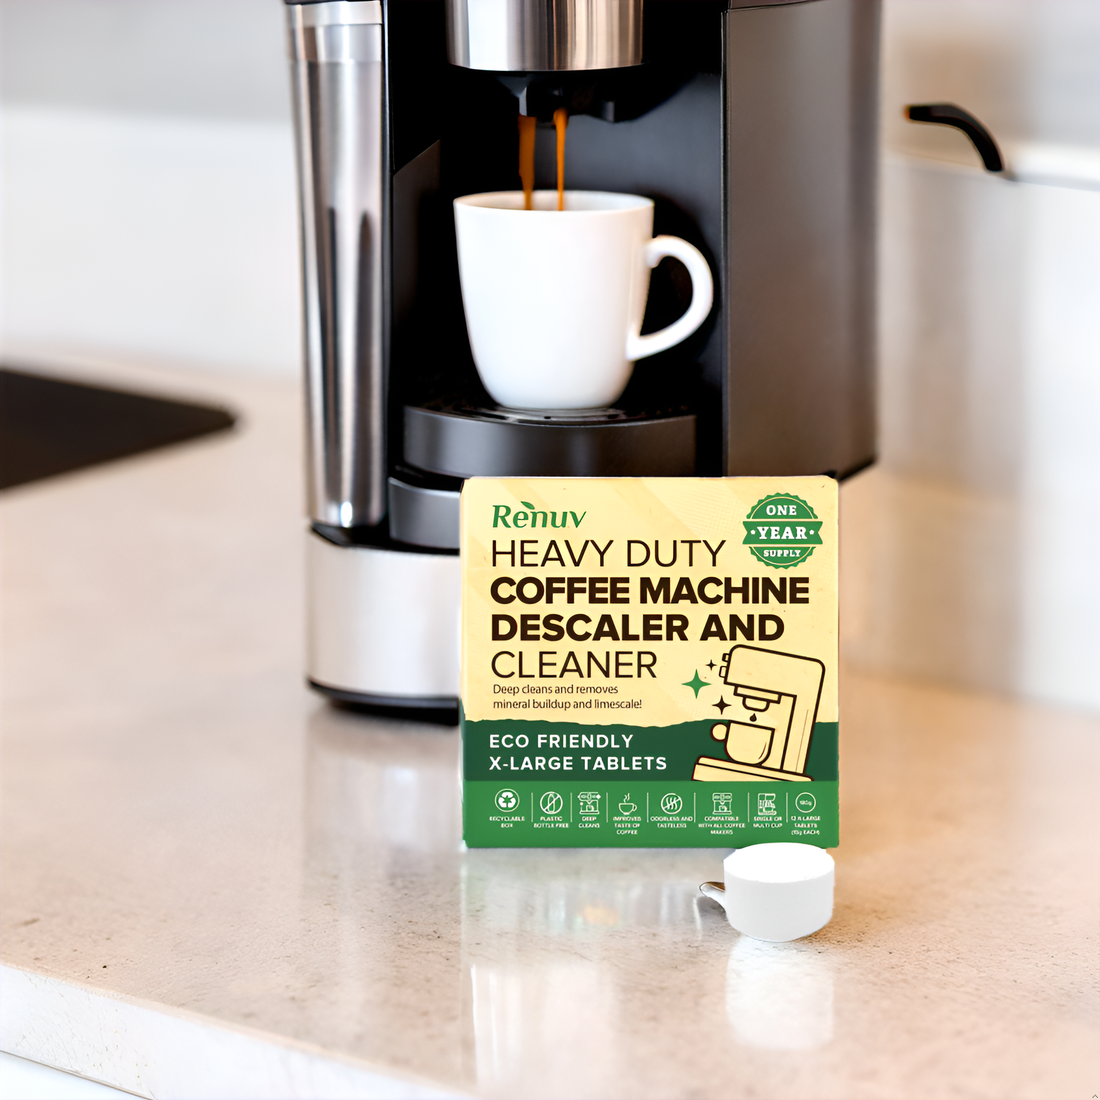
Coffee lovers everywhere understand the importance of maintaining a clean coffee maker. A Keurig coffee maker, known for its convenience and quality, is no exception. Regular cleaning and descaling are essential to ensure your machine's longevity and maintain the taste of your coffee. In this comprehensive guide, we will walk you through the process of cleaning and descaling your Keurig coffee maker using Renuv Coffee Maker Cleaner tablets. These tablets are specifically designed to make the process straightforward and effective.
Why Cleaning and Descaling Your Keurig is Important
Enhances Coffee Flavor
Over time, coffee oils, grounds, and mineral deposits from water can build up inside your Keurig, impacting the flavor of your coffee. Cleaning and descaling remove these residues, ensuring each cup tastes fresh and delicious.
Extends Machine Lifespan
Regular maintenance prevents clogs and ensures all parts of the machine function correctly. This extends the lifespan of your Keurig, providing you with many more years of excellent coffee.
Ensures Optimal Performance
A clean machine operates more efficiently. By regularly descaling and cleaning your Keurig, you ensure it brews at the right temperature and water flow, resulting in consistently great coffee.
Understanding Renuv Coffee Maker Cleaner Tablets
Renuv Coffee Maker Cleaner tablets are specially formulated to break down and remove coffee residue and mineral buildup from your coffee maker. These tablets are safe, easy to use, and effective, making them a preferred choice for many coffee enthusiasts.
Features of Renuv Coffee Maker Cleaner Tablets
- Non-toxic and Biodegradable: Safe for both you and the environment.
- Easy to Use: Designed for hassle-free cleaning and descaling.
- Effective: Powerful formula that removes even the toughest residues.
- Versatile: Suitable for all types of coffee makers, including Keurig machines.
Step-by-Step Guide to Cleaning and Descaling Your Keurig with Renuv Tablets
Step 1: Gather Your Supplies
Before you start, make sure you have all the necessary supplies:
- Renuv Coffee Maker Cleaner tablets
- A large ceramic mug
- Clean, fresh water
- A paperclip or a Keurig cleaning tool
- A microfiber cloth or sponge
Step 2: Prepare Your Keurig
Unplug your Keurig coffee maker and remove any used pods from the machine. If your Keurig has a water reservoir, empty any remaining water. It's essential to start with an empty and clean reservoir to ensure the cleaning solution works effectively.
Step 3: Disassemble and Clean Removable Parts
Remove all removable parts, including the water reservoir, lid, drip tray, and K-Cup holder. Wash these parts with warm, soapy water, then rinse and dry them thoroughly. Use a microfiber cloth or sponge to clean the exterior of the machine, removing any coffee stains or fingerprints.
Step 4: Clean the Needle
The needle in your Keurig can get clogged with coffee grounds, affecting the water flow and coffee quality. Use a paperclip or Keurig cleaning tool to carefully clean the needle. Insert the tool into the needle and move it around to dislodge any debris. Be cautious not to damage the needle during this process.
Step 5: Prepare the Cleaning Solution
Fill the water reservoir with fresh water up to the maximum fill line. Drop one Renuv Coffee Maker Cleaner tablet into the reservoir. The tablet will start to dissolve, creating a powerful cleaning solution. Wait for the tablet to dissolve completely before proceeding.
Step 6: Run the Cleaning Cycle
Place a large ceramic mug on the drip tray. Plug in your Keurig and turn it on. Select the largest cup size setting and start a brew cycle without inserting a K-Cup. The cleaning solution will pass through the machine, removing coffee oils and residues. Repeat this process until the water reservoir is empty, discarding the contents of the mug after each cycle.
Step 7: Rinse the Machine
After completing the cleaning cycle, fill the water reservoir with fresh water again. Run multiple brew cycles without a K-Cup until the water reservoir is empty. This step ensures all traces of the cleaning solution are flushed out, leaving your Keurig ready for use.
Step 8: Descale Your Keurig
Descaling removes mineral buildup that can clog the internal components of your Keurig. While Renuv tablets clean the coffee residues, you may need a separate descaling solution for mineral deposits. Follow these steps to descale your Keurig:
- Prepare the Descaling Solution: Fill the water reservoir with equal parts of water and white vinegar or use a commercial descaling solution.
- Run the Descaling Cycle: Place a large mug on the drip tray. Start a brew cycle without a K-Cup, using the largest cup size setting. Repeat until the reservoir is empty, discarding the contents of the mug after each cycle.
- Rinse the Machine: Fill the water reservoir with fresh water and run multiple brew cycles to flush out any remaining descaling solution. Continue until the reservoir is empty.
Step 9: Reassemble and Test
Reassemble all the removable parts of your Keurig, ensuring everything is securely in place. Fill the water reservoir with fresh water and run a brew cycle without a K-Cup to ensure the machine is functioning correctly. If the water runs clear and the machine operates smoothly, your Keurig is ready for use.
Tips for Maintaining Your Keurig Coffee Maker
Regular Cleaning
To keep your Keurig in optimal condition, perform a thorough cleaning at least once a month. Regular cleaning prevents buildup and ensures your coffee tastes great.
Use Filtered Water
Using filtered water reduces mineral deposits and extends the time between descaling. It also improves the taste of your coffee.
Replace Water Filters
If your Keurig has a water filter, replace it every two months or after brewing 60 tanks of water. This helps maintain water quality and prevents mineral buildup.
Store Your Machine Properly
When not in use, store your Keurig in a clean, dry place. Avoid leaving water in the reservoir for extended periods, as stagnant water can lead to mold and bacteria growth.
Troubleshooting Common Keurig Issues
Slow Brewing
If your Keurig is brewing slowly, it may be due to a clogged needle or mineral buildup. Clean the needle and descale the machine to resolve this issue.
Weak Coffee
Weak coffee can result from clogged needles, dirty internal components, or using old coffee pods. Clean and descale your machine, and ensure you're using fresh, high-quality coffee pods.
Machine Not Brewing
If your Keurig isn't brewing, check the water reservoir for proper placement and sufficient water. Ensure the machine is plugged in and powered on. If the issue persists, clean the needle and descale the machine.
Unpleasant Taste
An unpleasant taste in your coffee can result from coffee residue, mineral buildup, or using old coffee pods. Clean and descale your Keurig regularly, and use fresh coffee pods to ensure the best flavor.
Conclusion
Maintaining a clean and efficient Keurig coffee maker is essential for enjoying great-tasting coffee every day. Using Renuv Coffee Maker Cleaner tablets makes the cleaning process straightforward and effective, ensuring your machine stays in top condition. By following the steps outlined in this guide, you can clean and descale your Keurig with ease, extending its lifespan and enhancing your coffee experience.
Regular maintenance, including cleaning, descaling, and using quality water and coffee pods, ensures your Keurig performs at its best. Troubleshooting common issues and following best practices for storage and care will keep your coffee maker running smoothly. Enjoy the rich, flavorful coffee your Keurig can deliver with the confidence that your machine is well-maintained and ready to brew your favorite cup at any time.